
PXHERE / Wikimedia Commons, cropped and resized
Camping Cookware Care
How to Clean, Dry, and Store Camping Cookware After a Trip
A camp kitchen is easier to reset when cookware is cooled, scraped, washed by its material limits, dried piece by piece, and nested without trapped moisture. The focus is post-trip cleaning and storage, not rankings, purchase comparisons, or broad coating claims.
A camp kitchen is easier to reset when cookware is cooled, scraped, washed by its material limits, dried piece by piece, and nested without trapped moisture. The focus is post-trip cleaning and storage, not rankings, purchase comparisons, or broad coating claims.
Fast read
What matters first
Use this summary to identify the checks that matter before you act.
Before washing
Identify aluminum, stainless, titanium, enamel, nonstick, silicone, handles, lids, and the maker's care route.
When residue is stuck
Scrape and soften it with the label-permitted method instead of reaching for a universal abrasive.
Before nesting
Dry the cooking surface, rim, lid, handle joint, strainer, and carry bag separately.
Decision system
The planning sequence
Use the sequence below to make the decision in a clear order.
Camping Cookware in Context
Identify the surface before you scrub
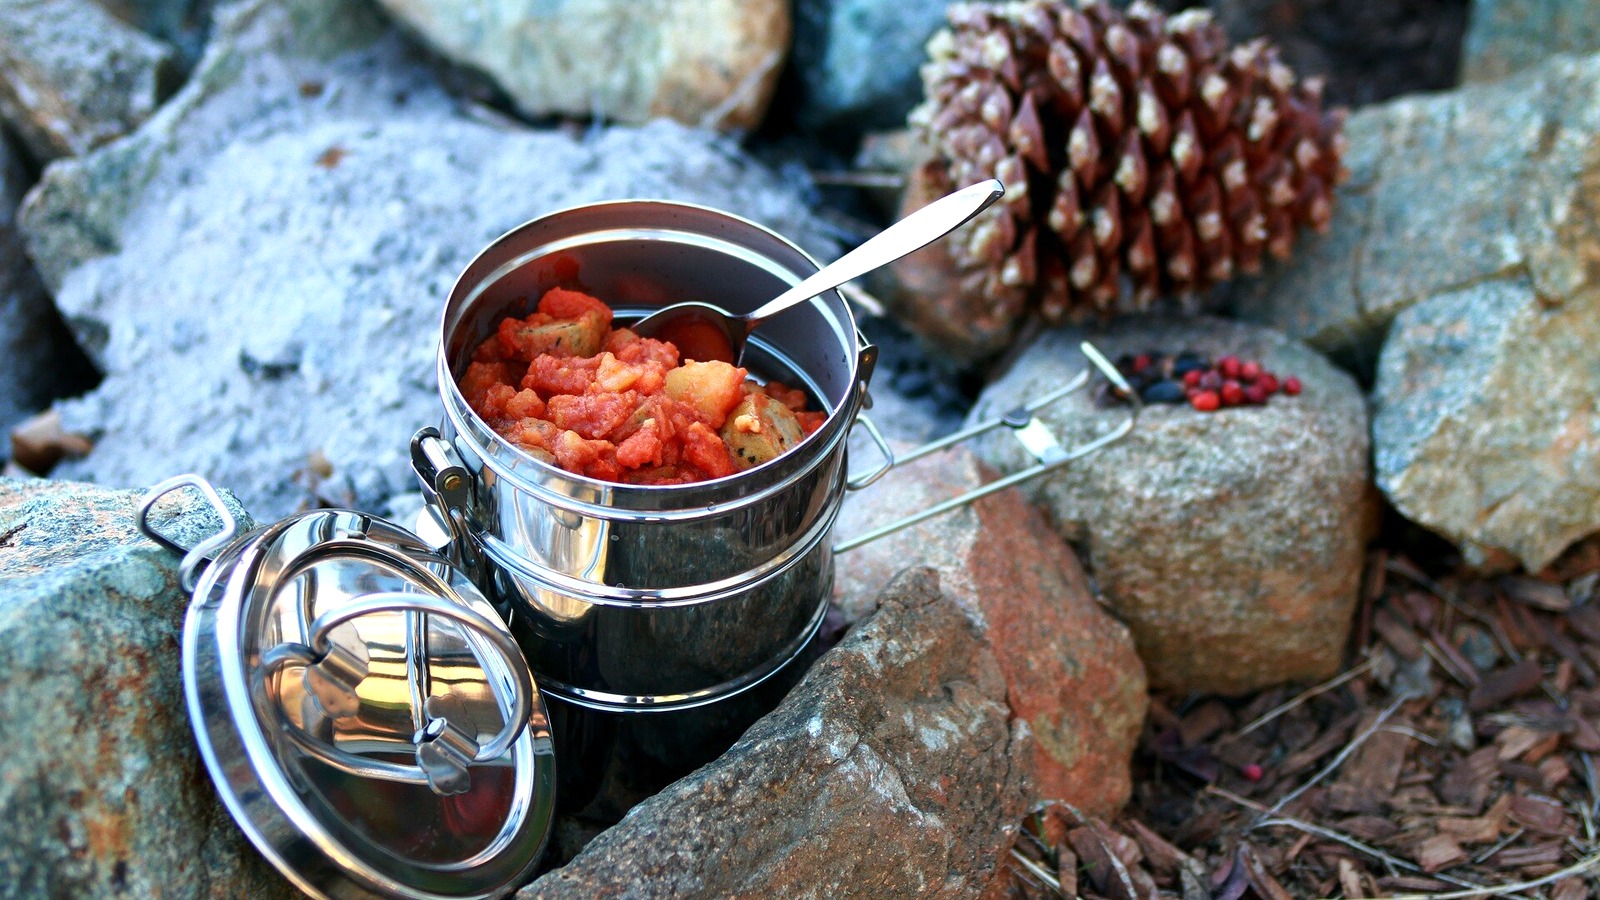
The hero is a real outdoor photograph of a stainless camping pot and lid beside a meal. It illustrates a camp cookware form and nested parts, not a recipe, food-safety demonstration, or product recommendation.
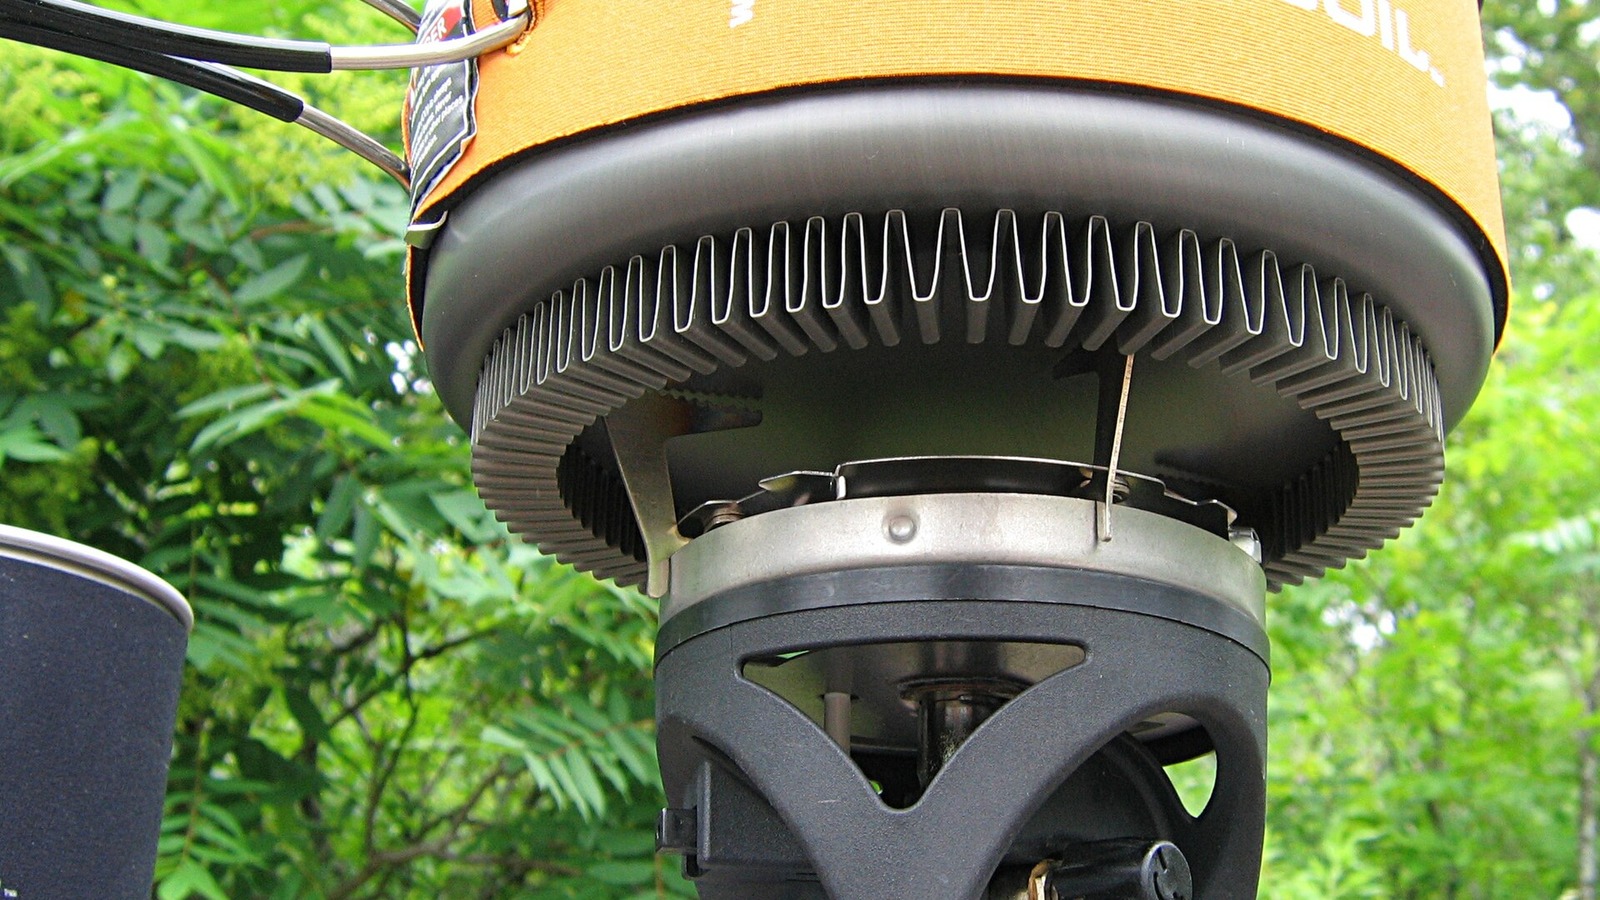
The supporting photograph shows a real Jetboil camping stove under its cooking pot. The named gear is an exact visual subject, but the image does not establish compatibility, performance, or a universal cleaning method for another stove or pot.
Identify material, coating, and moving parts
Camping cookware is a category, not one surface. Before water touches a pot, find the maker's instructions and identify aluminum, stainless steel, titanium, enamel, a nonstick or other coating, silicone, and any attached or removable handle. Note whether the lid doubles as a pan, whether a strainer has small openings, and whether the set has a dedicated carry bag. A care instruction for one material should not be stretched to every piece in the nest.
When the label is missing or the surface is unknown, start with the gentlest material-compatible method and ask the maker before using a stronger cleaner or tool. Keep coated parts away from abrasive pads unless the manufacturer explicitly permits them, and keep detachable sleeves, handles, and storage bags on their own care routes. Treat dishwasher compatibility, soaking limits, and utensil choice as product-specific decisions. Cascade Designs: MSR FAQ, Washing Cookware provides the material distinction between aluminum hand washing and other cookware components.
Cool the cookware before you take it apart
Give a pot, pan, lid, or strainer time to cool before you handle it. A hot piece can make a wet cloth steam, loosen a handle unexpectedly, or turn a quick rinse into a sudden temperature change that the maker does not permit. Keep the cooling cookware on a stable, heat-safe surface and away from tent fabric, loose food, and a bag that could trap heat.
When it is comfortable to handle, separate only the parts the instructions identify as removable. Unlock a folding handle, remove a sleeve, or lift a strainer without forcing a hinge or spring. If a component will not release normally, leave it together and clean around the joint rather than making a repair at camp. This pause protects the person cleaning, the cookware surface, and the small hardware that makes nesting possible.
Scrape and wipe before adding much water
Remove loose food, grease, and soot before washing. A soft scraper, cloth, or maker-approved tool can take off the material that would otherwise spread through the wash water. Wipe the lid, rim, handle, and outside as well as the cooking surface. Collect scraps according to the campsite or local rules instead of leaving them where wildlife can find them.
In the backcountry, water and disposal options vary. Follow the site's directions for where to wash, how much soap to use, and where strained food particles and gray water go.
Do not treat a minimum-water field wipe as a full home clean. Reduce residue at camp, keep food particles contained, and finish the permitted wash when you have the right water, tools, and drying space. National Park Service: Leave No Trace at Rocky Mountain National Park provides backcountry dishwashing distance, soap, and food-scrap handling.
Wash each piece by its stated method
Use the maker's instructions for water temperature, soap, hand washing, dishwasher limits, and tool choice. Some manufacturers distinguish aluminum from other components, while others recommend hand washing the entire line. Those differences are why a general rule such as every camping pot can go in the dishwasher is unsafe to generalize.
Wash the inside first, then the lid, strainer, handles, and outside. Use a soft cloth or brush where the surface instructions call for it. For a stuck patch, use the allowed soak, paste, or sequence for that specific material.
Keep cleaners away from parts that are not designed to be immersed, and do not use a rough pad on a coated surface unless the maker explicitly permits it. Rinse after the cleaning step so a film does not become the next trip's residue. GSI Outdoors FAQ: How Do I Clean My Gear provides hand washing, rinsing, drying, and material-specific stain handling.
Handle soot and stubborn marks without guessing
Soot on the outside of a pot, a baked patch on stainless steel, and a mark on a coated pan are different problems. Identify where the mark is and what the maker allows before escalating. A material-specific guide may name a soft tool, a baking soda paste, or a short soak, but that advice is not automatically safe for a coating, silicone sleeve, painted handle, or anodized surface.
Start with the least aggressive permitted step and stop when the residue is gone. Do not use sand, a sharp knife, steel wool, concentrated acid, bleach, or a mystery solvent as a universal field solution. If a mark remains after the label-consistent clean, photograph it and ask the maker whether it is residue, cosmetic discoloration, or damage. The goal is a clean and usable surface without inventing a chemistry claim or a test result.
Rinse and dry every component separately
Rinse the pot, pan, lid, strainer, handle, and any removable sleeve until the maker's method is complete. Pay attention to the rim, folded handle joint, rivet, lid edge, drain or pour opening, and the places where two parts touch. Wipe the cooking surface and use a clean towel for the outside, then place pieces apart so air can reach them.
A component can feel dry while a seam or handle cavity still holds water. Turn lids and sleeves, open hinges as designed, and check the carry bag separately.
If the trip ends before the set is dry, keep the pieces separated and breathable during transport. Do not place a damp lid inside a pot and assume the next stop will solve it. Complete drying is a storage decision, not merely the moment when visible drops disappear. Sea to Summit: Warnings and Instructions, Cookware covers cooling before cleaning, soft tools, and fully dry components before storage.
Nest only when the stack is truly dry
Nesting saves space, but it also creates contact points where water, grease, and soot can stay hidden. Before stacking, run a dry cloth around each rim and inspect the cooking surface, lid underside, handle joint, strainer holes, and protective sleeve. If any area is cool, damp, sticky, or smoky, leave the pieces open and continue drying.
Follow the maker's nesting order so handles and lids do not rub the cooking surface. Use only an approved separator or the packing method supplied with the set; do not insert a random material that can shed fibers or trap moisture. Keep a coated piece from contacting a rough tool or another part that can scratch it. A dry, quiet stack is useful. A sealed stack that still smells of dinner or campfire is not ready for the cupboard.
Store the clean set and inspect before travel
Put the dry pieces into the maker-supplied bag, case, or storage position, and keep that container in a dry place with reasonable airflow. Do not use a sealed case to hide moisture. Store handles, lids, strainers, and utensils so they cannot press into a coated surface or bend a hinge. If the set has a dedicated stove nest, follow the stove maker's separate fuel and hardware directions rather than treating every part as cookware.
Before the next trip, open the stack and look for moisture, odor, soot transfer, a loose handle, a bent rim, a cracked lid, or a damaged coating. Replace or isolate a part that no longer works as designed and ask the maker about repair or safe use. This page is a care and storage route. It does not score cookware, recommend a purchase, promise corrosion resistance, or decide whether a food-contact concern needs professional advice.
Planning traps
Mistakes to avoid
These are the small decisions that quietly derail an otherwise good plan.
Aluminum, stainless steel, titanium, enamel, silicone, and coated surfaces can have different wash and tool limits.
Cool the cookware before separating parts or adding water, then follow the maker's temperature and handling instructions.
Check rims, lids, handle joints, sleeves, and strainers because hidden moisture can remain after a quick towel pass.
Do not treat a care routine as a ranking, price comparison, or claim that one coating or cleaner suits every camp kitchen.
Sources checked
Official and supporting references
Use these references to verify the factual guidance and recheck details that can change.
FAQ
Common planning questions
Can I put any camping cookware in a dishwasher?
How should I remove soot from a camping pot?
How do I dry cookware before nesting it?
Can I store the cookware closed in its bag?
Continue planning