
Luggage Tags, Breakfast, Customs, Timing, and How to Avoid Exit Chaos
Disembarkation day feels rushed for one reason:
People don’t understand the sequence.
The cruise ship is highly organized on departure morning — but if you don’t choose the right luggage and timing strategy, it can feel chaotic.
This guide explains disembarkation step by step:
- Luggage tag system
- Self-assist vs checked luggage
- Breakfast timing
- Customs process
- Transportation planning
- How to avoid delays
If you haven’t yet read the beginning-of-trip process, review:
👉 Embarkation Day: Boarding Process Explained
Start and end your cruise calmly.
The Night Before Disembarkation
Disembarkation planning begins the evening before arrival.
Your cruise line will:
- Deliver luggage tags to your cabin
- Provide departure instructions
- Assign departure groups
This is where your first decision matters.
Step 1: Choose Your Luggage Strategy
You have two options:
Option 1: Self-Assist (Carry-Off)
You carry all luggage off the ship yourself.
Pros:
- Earliest departure time
- No waiting for luggage in terminal
- Faster exit
Cons:
- You must physically carry all bags
- Elevators may be crowded
Best for:
- Travelers with light luggage
- Early flight departures
- Confident mobility
Option 2: Checked Luggage (Tagged System)
You place luggage outside your cabin the night before.
Port staff removes it.
You retrieve it inside the terminal.
Pros:
- Easier physically
- No hauling bags through hallways
Cons:
- Later departure window
- Wait time in terminal
- Dependent on assigned group
Best for:
- Families
- Heavy packers
- Travelers without tight flight schedules
If you want to pack smarter next time, review:
👉 Cruise Luggage Rules
👉 Cruise Packing Checklist (Master)
Overpacking makes disembarkation harder.
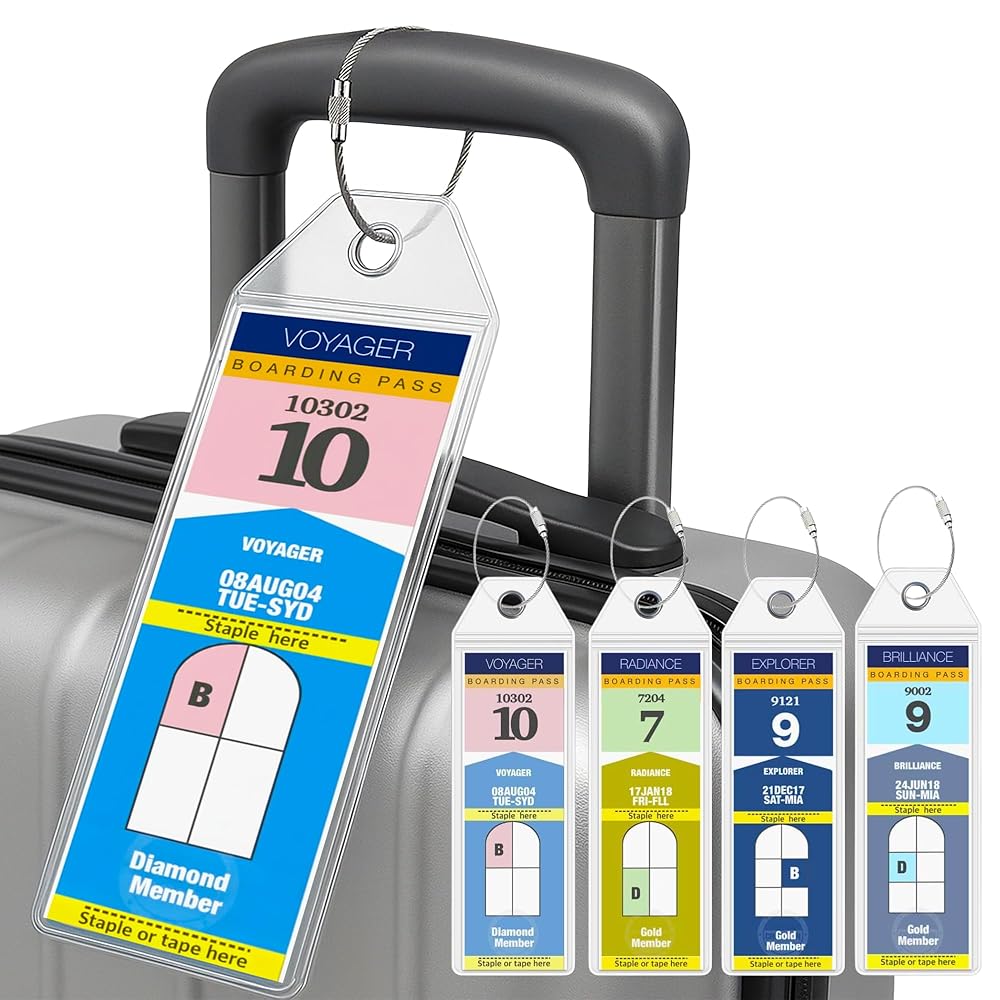
Step 2: The Luggage Tag System Explained
Each luggage tag corresponds to a departure group.
Lower-number tags:
- Leave earlier
Higher-number tags:
- Leave later
Departure times are staggered to prevent terminal overload.
You will be instructed:
- What time to vacate your cabin
- Where to wait until called
- When to proceed to exit
Do not ignore tag instructions — jumping groups causes congestion.
Step 3: Cabin Vacate Time
Cabins must typically be vacated:
- Early morning (often before 8–9 AM)
Why:
- Crew begins turnover for next sailing
- Cleaning teams require full access
Important:
Even if your group departs later, you must leave your cabin early.
Plan accordingly.
Step 4: Breakfast on Disembarkation Day
Most cruise lines offer:
- Buffet breakfast
- Limited main dining options
Breakfast service ends earlier than normal.
Strategy:
- Eat early
- Avoid lingering
- Keep carry-on light
Disembarkation morning is not leisurely brunch.
It is operational.
Cruise cabin gear
The small fixes that make an interior stateroom livable, every pick cruise-line compliant.



Step 5: Waiting Areas and Group Calls
If you chose checked luggage:
- You wait in assigned public areas
- Announcements call your luggage tag group
- You proceed to exit when called
Common mistake:
Standing in hallways early and blocking traffic.
Wait calmly until your group is announced.
Step 6: Customs and Immigration
Process varies by itinerary.
Closed-loop U.S. sailings often involve simplified customs.
International itineraries may require:
- Passport checks
- Face recognition kiosks
- Customs declaration forms
Have ready:
- Passport or ID
- Customs documentation if required
For documentation preparation, see:
👉 Cruise Documents Checklist
Customs is usually faster than people expect — congestion is often luggage-related, not customs-related.
Step 7: Terminal Luggage Retrieval
If you checked bags:
- Locate your luggage tag zone
- Identify your bags
- Proceed to customs
Luggage is grouped by tag number.
Do not rush the pile.
Confirm tag color and number first.
Step 8: Transportation Strategy
Transportation timing matters more than departure timing.
Options:
- Pre-arranged shuttle
- Rideshare
- Private transfer
- Airport taxi
Important:
Do not book flights too early.
General rule:
- Domestic flights: 11 AM or later (varies by port)
- International flights: Later buffer recommended
If unsure about port timing, see:
👉 How Early Should You Arrive at a Cruise Port?
The same terminal timing logic applies in reverse.
Self-Assist vs Checked Bags: Quick Comparison
| Factor | Self-Assist | Checked Bags |
|---|---|---|
| Exit Speed | Fastest | Slower |
| Physical Effort | Higher | Lower |
| Flight Risk Buffer | Best | Moderate |
| Stress Level | Low if light packer | Low if no rush |
If you packed minimally, self-assist is almost always smoother.
Common Disembarkation Mistakes
- Overpacking → harder self-assist
- Booking early flights without buffer
- Ignoring luggage tag timing
- Staying in cabin too long
- Blocking stairwells early
Most “why are we still here?” frustration comes from poor timing decisions.
Disembarkation Timing Overview
Typical timeline:
Night Before:
- Receive tags
- Pack
- Place checked bags outside cabin
Morning:
- Vacate cabin
- Breakfast
- Wait in assigned area
Call Group:
- Proceed to exit
- Retrieve luggage (if checked)
- Clear customs
- Depart terminal
Most travelers are off ship within 1–3 hours of docking.
How to End the Cruise Calmly
✔ Pack lightly
✔ Choose luggage strategy intentionally
✔ Eat early
✔ Wait for your group
✔ Build airport buffer
✔ Confirm transport ahead of time
The ship is organized.
Follow the structure and the exit feels smooth.
Landing abroad? Set up a Yesim eSIM before you sail.
Deep Arrival earns a commission when you buy through partner links. It does not change the price you pay.
Final Thoughts
Disembarkation day feels rushed only when expectations are misaligned.
Understand:
- Luggage flow
- Departure sequencing
- Cabin vacate timing
- Customs process
Then plan accordingly.
Start the cruise calm.
End the cruise calm.
For a smoother next trip, revisit:
👉 Embarkation Day: Boarding Process Explained
Cruising works best when you respect the sequence.